Monday, August 1, 2016

mini quilted zipper pouch {a free tutorial}

Happy Monday, everyone!

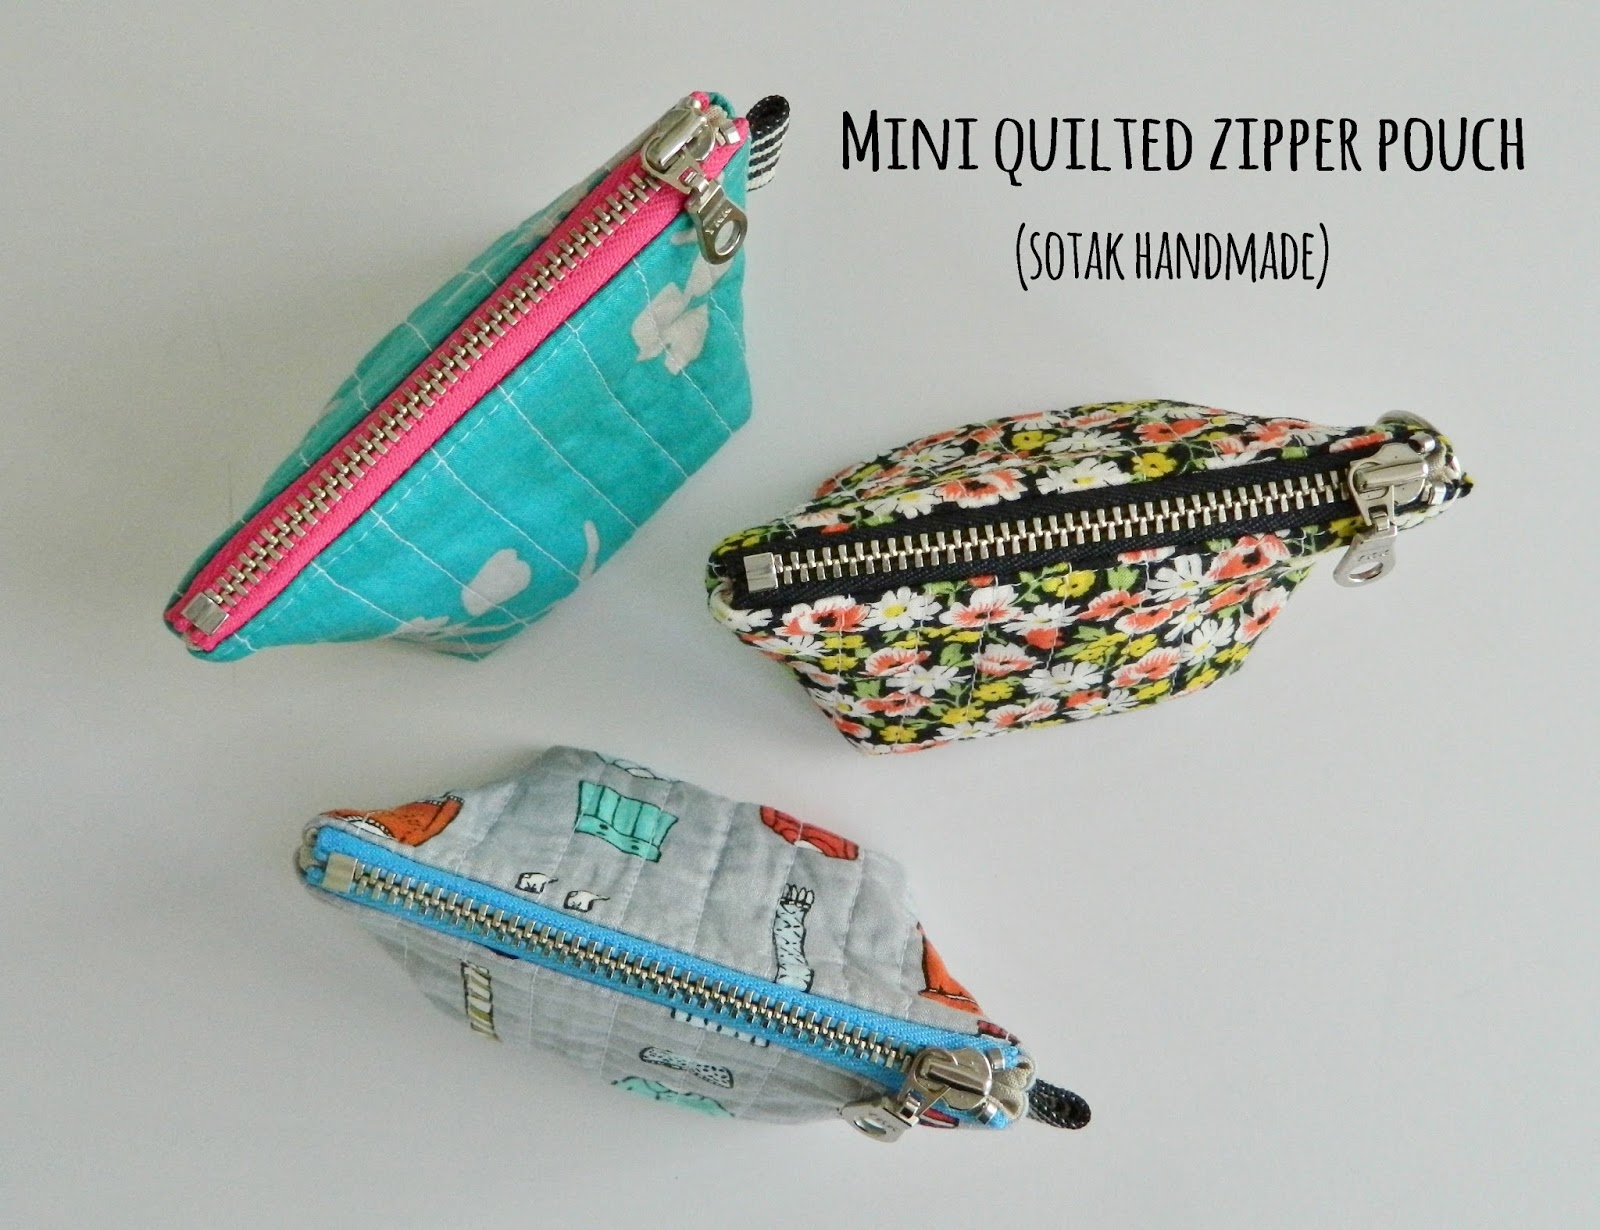
As promised, I'm back with a free tutorial on how to make a mini quilted zipper pouch.


Let's start, shall we?

Finished size:  2.75" wide x 2.5" tall x 2" deep

Notes: 
- use 1/4" seam allowance unless otherwise noted
- light to mid - weight quilting cotton is recommended for exterior and lining
- use only low loft batting (I usually use Warm and White), avoid polyester batting as it's too poofy for these pouches 

Materials needed:
exterior fabric: two 4.25" tall x 5.25" wide rectangles
lining fabric: two 4.25" tall x 5.25" wide rectangles
batting: two 6" x 8" rectangles
4" zipper (metal or nylon depending on your preference)
0.5" wide x 1.75" long ribbon for side tab (optional)

505 basting spray or basting pins
disappearing fabric pen
ruler
zipper foot for your sewing machine

Exterior panels
1. Baste batting to wrong sides of exterior panels. Quilt panels as desired. Trim all the extra batting off.

2. Place one exterior panel right side up on a flat surface. Use ruler and disappearing fabric pen to mark a 1" square along the two bottom corners. Cut on the drawn lines so your exterior panel looks like the one pictured below. Finish second exterior panel following the same directions.


3. (skip to the next step if not using ribbon for a tab) Fold ribbon in half. Use 1/8" seam allowance and baste it to the left side of one exterior panel about 3/4" from the top edge.

Lining
4. Place lining panels on a flat surface. Mark and cut out 1" squares along both bottom corners as you did for exterior panels.

Zipper
5. Bend zipper tape on both ends of zipper at 45 degree angle towards wrong side of zipper tape. Baste within seam allowance either by hand or by machine to secure in place. Trim off extra zipper tape if desired.


6. Center zipper right side down along the top raw edge of exterior panel. Align the zipper tape with exterior's top raw edge, pin to hold in place. Baste using 1/8" seam allowance and your sewing machine zipper foot, taking the pins out as you sew.

7. Place exterior panel with zipper attached right side up on a flat surface. Place lining right side down on top, align all the edges and pin along the top edge (zipper is sandwiched in between the two layers). Use the edge of your zipper foot as a guide and stitch along the top pinned edge taking the pins out as you go. Press both exterior and lining away from zipper.


8. Follow the same directions to attach second exterior as well as lining panel to the zipper. Press both panels away from zipper.


9. Push the lining up towards zipper and use 1/8" seam allowance to stitch along exterior panel and zipper seam. Do not stitch through the lining. Refer to picture below. Stitch along the second exterior + zipper seam following the same directions.


Final Assembly
10. Open the zipper about half way. Align exterior panels on top of each other and linings on top of each other as well. Pin or clip all the way around. Stitch along the side and bottom edges, make sure to leave a 2" opening in the lining's bottom seam. Press the seams open.


11. Align one side and one bottom seam over each other to stitch the gusset (corner of your pouch) closed. Clip/ pin to prevent shifting and stitch along the raw edges using 1/4" seam allowance. Stitch the second exterior gusset as well as two lining gussets closed following the same directions.


12. Turn the pouch right side out through the opening in the lining. Stitch the lining closed and push it gently inside the exterior. Use your fingers to gently push the zipper and bottom corners out.

13. Give your pouch one final press if needed and you're all finished. Congratulations!!!

Hope you have tons of fun making these little cuties.  And, as always, if you make a project using any of my tutorials please add it to my Flickr group or use #sotakhandmade if posting on Instagram.

Svetlana


31 comments:

  1. These are so cute. Thanks for the tutorial.

    ReplyDelete
  2. These are adorable little bags! I have a few mini Wide Open pouches that I made myself. They come in handy for little things like hairbands and clips while traveling =)

    ReplyDelete
  3. These little pouches are too cute! Thanks for sharing the tutorial, I plan to use it once I get my hands on some zippers! 😊

    ReplyDelete
  4. These are so sweet! Thanks for the tutorial. I'm definitely going to give them a try! They would make cute gifts.

    ReplyDelete
  5. Adorable and useful, thanks for the tutorial, size is perfect!

    ReplyDelete
  6. Oh! Adorable!! I've got a Craft Gossip post scheduled for later this morning that features your tutorial: http://sewing.craftgossip.com/?p=89090 --Anne

    ReplyDelete
  7. missed the "printer friendly" button

    ReplyDelete
  8. I did not understand why my zipper is not lying flat.☺ The tip in Step 9 regarding the lining was a "light-bulb moment"!☺ ♥Thank you!♥

    ReplyDelete
  9. Hi Svetlana,
    Thank you for the super pattern! Although I was a little naughty, and used polyester wadding, and hand quilting .... I am so pleased with the result! Thank you again for the pattern!
    I have shown my pouch on my blog as I don't use Flickr or Instagram.
    http://theflashingscissors.blogspot.co.uk/2016/09/a-very-puffy-pouch.html

    ReplyDelete
  10. very nice post my friend, i'll keep coming here !!

    ReplyDelete
  11. Hi Svetlana,
    First after all a lot of congrats for the nice post (and not only this one).
    I have a question: why do you write "Do not stitch through the lining"?
    I have the feeling that doing the opposite, you can prevent the lining to get stuck in the the zipper while you close/open it.
    Is there a reason for your advice?
    Thanks very much
    Giorgia

    ReplyDelete
  12. Thanks for your submission. I also think that geek squad tech support laptop computers are getting to be more and more popular right now, and now are sometimes the only sort of computer found in a household. This is due to the fact that at the same time potentially they are becoming more and more economical, their processing power is growing to the point where they’re as strong as desktop computers from just a few years ago.
    Regards: Best Buy Geek Squad

    ReplyDelete
  13. Get the solutions to all the technical issues with all your electronic appliances at Geek Squad Tech Support. Avail wide no of services, on-site, and over the Internet via remote access and In-store, and also provides 24/7 telephone and emergency on-site support. Reach the experts at Geek Squad Tech Support for removing all technical glitches with your devices

    ReplyDelete


  14. Geek Squad Online Support is a technical group of experts available online to resolve your issues. The experts at this helpline are great at solving your issues, instantly. Call the Geek Squad Online Support experts to avail the best services.

    ReplyDelete
  15. Geek Squad Webroot being an antivirus software is very crucial in respect to today's time. The experts working behind the toll-free helpline of this antivirus are great at resolving all your virus and malware issues. Call Geek Squad now for expert help, anytime.

    ReplyDelete

  16. Obtain master assistance for fixing all technical flaws with your appliances at Geek Squad Support. Feel free to reach tech savvy experts at Geek Squad Support round the clock as per your convenience for addressing all your concerns related to electronic appliances.

    ReplyDelete
  17. You will get an affirmation email at the address you gave. Take after the directions in the email to affirm your record. Whenever asked, enter your Geek Squad Webroot Secureanywhere account certifications to sign in.
    www.webroot.com/bestbuy
    webroot.com/bestbuy
    webroot.com/bestbuypc
    www.webroot.com/geeksquad
    webroot.com/geeksquad

    ReplyDelete
  18. I wanted to thank you for this great read!! I definitely enjoying every little bit of it I have you bookmarked to check out new stuff you post. sydney splashbacks

    ReplyDelete
  19. Thanks for posting! I really like what you've acquired here; You should keep it up forever!Private tutor Highland Beach Best of luck

    ReplyDelete
  20. This is such a beautiful mini quilted zipper pouch. Vero Beach Tutoring I will make this one so i can keep my things in there

    ReplyDelete
  21. I am not going to say that great work done but this is an awesome blog. I enjoyed reading your articles.SAT Tutor Gulf Stream This is truly a great read for me. I have bookmarked it and I am looking forward to reading new articles on the same matter.

    ReplyDelete
  22. I’ve desired to post about something similar to this on one of my blogs and this has given me an idea. Sunny Isles Tutoring Cool Mat.

    ReplyDelete
  23. This is a great inspiring article.Palm Beach Tutoring I am pretty much pleased with your good work. You put really very helpful information. Keep it up. Keep blogging. Looking to reading your next post.

    ReplyDelete
  24. This is really informative blog for students, Boca Raton Tutoring keep up the good work.

    ReplyDelete
  25. Its wonderful blog really very nice site and blog facility.every title is very nice and very fatastic concept.Bethesda Tutoring Thanks for sharing the information.

    ReplyDelete
  26. To be honest I found very helpful information your blog thanks for providing us such blogBatting Position in KKR vs CSK Match

    ReplyDelete

Related Posts Plugin for WordPress, Blogger...