
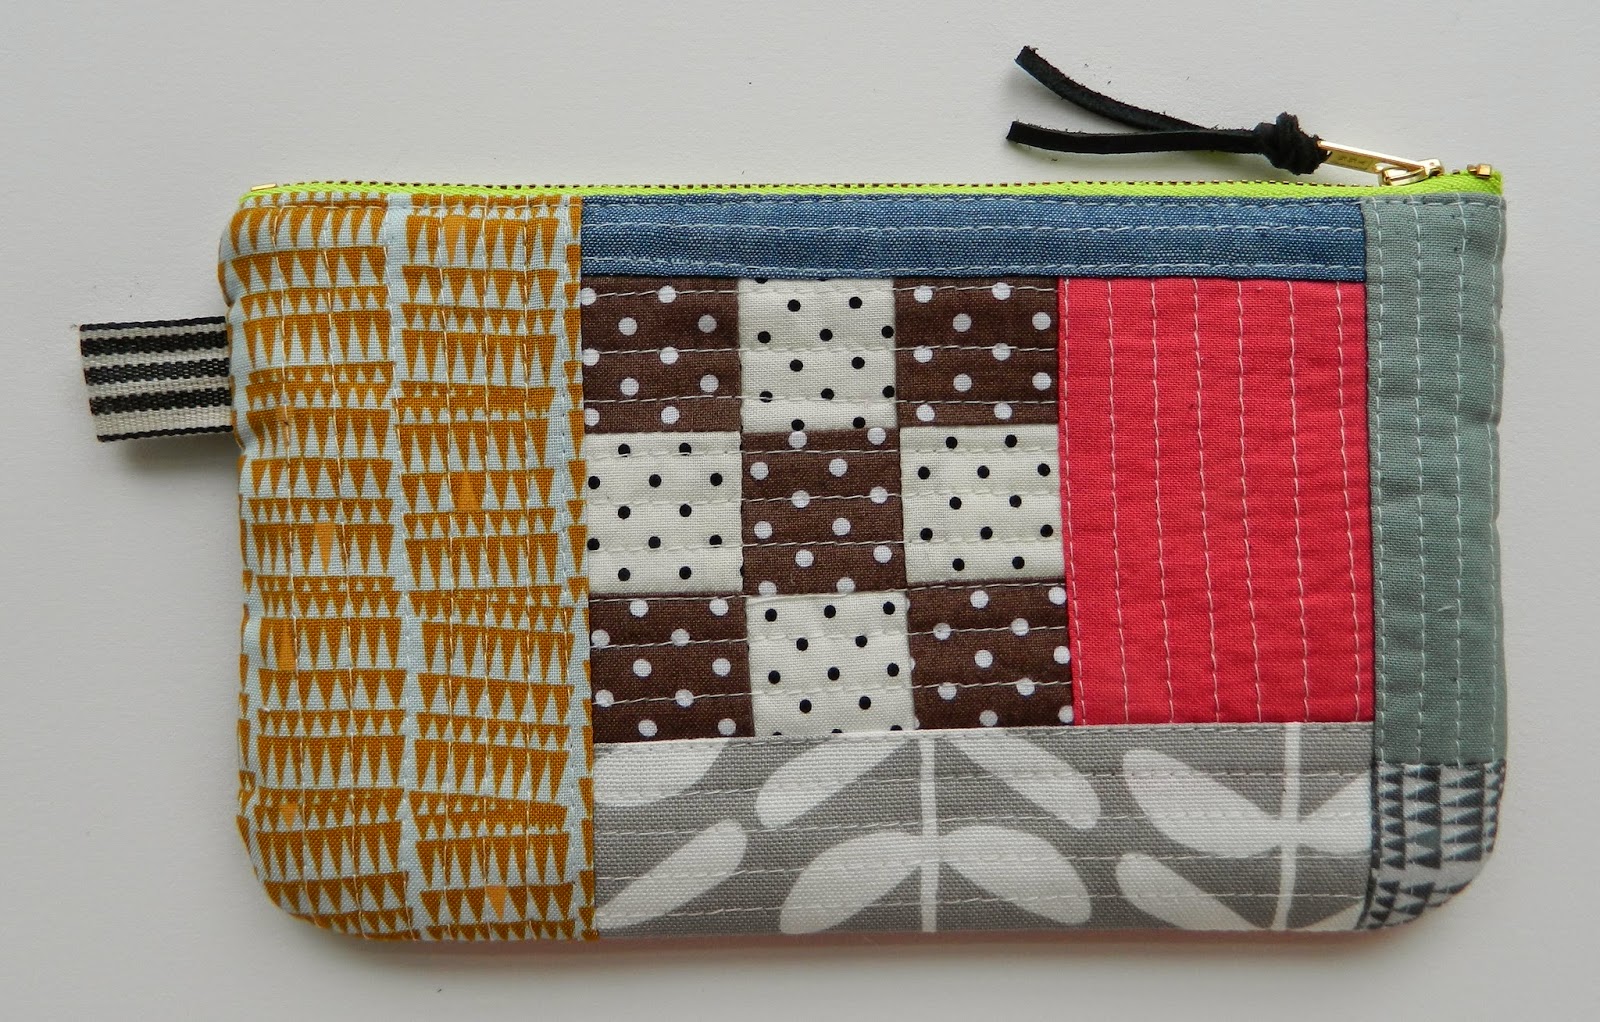
As promised, I'm back with a tutorial on how to turn a qayg slab of patchwork (or any kind of patchwork for that matter) into a pouch.

I like to use metal zippers for his kind of pouches as I think their chunkier look fits this style of patchwork well. I buy my zippers in many colors and sizes on Etsy from Zipit but there are others who sell great zippers as well.
This is a sort of "generic" tutorial which can be adjusted depending on what size and shape of pouch you like, what zipper you have on hand, how big your patchwork slab is, ...
Here's what you'll need:
patchwork slab big enough for two exterior panels
metal zipper (1" shorter than width of your pouch's exterior panel)
3" long ribbon of choice
fabric for lining (you'll use exterior panels as templates)
round object (I used a cup) to round corners
disappearing fabric marker or pen
scissors
Wonder clips and/or pins
zipper foot for your sewing machine
Use 1/4" seam allowance unless otherwise noted.
Please read all the instructions before you start sewing :)
Please read all the instructions before you start sewing :)
1. Measure your zipper. Mine is 8" long (only measure from beginning of teeth to end stopper, not the zipper tape).

2. Cut your slab of patchwork into two panels. Width of panel depends on length of your zipper (just add 1" to your zipper length) x how tall you want your pouch to be (also depends on the size of your slab). My exterior panels measure 5.5" tall x 9" wide.

3. Use a cup or any round object to round corners of your exterior panels by tracing the curve and cutting on the line. Use one panel as a template to cut out two linings.

4. Prepare the zipper - fold zipper tape towards wrong side at about 35 degree angle, tack in place either by machine or by hand. Make sure to stitch only within seam allowance.

5. Fold ribbon in half and baste (using 1/8" seam allowance) it to right side of exterior panel bout 1" from the top edge. Center zipper right side down along the top raw edge of exterior panel. Align the zipper with the edge, pin to hold in place. Baste, using 1/8" seam allowance and your sewing machine zipper foot, taking the pins out as you go.

6. Place lining right side up on a flat surface. Place exterior with basted zipper right side down on top. Align all the edges and pin along the top edge (zipper is sandwiched in between the two layers).

7. Stitch along the top pinned edge taking the pins out as you go. Use the edge of your zipper foot as a guide to make sure your stitching is as straight as possible.

8. Press both the exterior and lining away from zipper. This is what your pouch will look like at this stage.

9. Place second exterior panel right side down on a flat surface. Put the zipper + exterior and lining from previous step on top - right sides together. Align top raw edge of exterior with zipper tape. Pin and baste along the top edge using 1/8" seam allowance.

10. Place second lining right side up on a flat surface. Put the pouch from previous step lining side down. Align top raw edges, pin, and stitch along the top edge taking the pins out as you go.

11. Press both exterior and lining away from zipper and topstich on both sides along the zipper using 1/8" seam allowance.

12. Open the zipper about half way, align exterior panels on top of each other and linings on top of each other as well, pin/clip all the way around. (topstitching seams are pointing towards lining)

13. Start sewing all the way around making sure to leave about 4" opening in the lining seam for turning. Press the seams open and clip around the curved edges.

14. Turn the pouch right side out through the opening in the lining. Stitch the lining closed.

15. Push the lining gently into the pouch, give it one final press, remove all the stray threads and you're finished, yay!

Congratulation! Add a little zipper pull to your zipper if you like, fill with the pouch with goodies of choice and enjoy.


Hope you enjoyed this tutorial.
And, as always, if you make a project using any of my tutorials please add it to my Flickr group. I love seeing all your amazing creations.
Svetlana