Hello, happy Monday to you all. As promised, I'm back with a tutorial for a drawstring bag. I love these bags, they're quick to make, don't use up too much fabric (just two fat quarters is all you need), and are a wonderful way to keep things organized.

To read more on how and why I came up with these bags, you can click here.
Enough talking, though. Let's start, shall we?
1 FQ main fabric for the exterior
1 FQ fabric for the lining
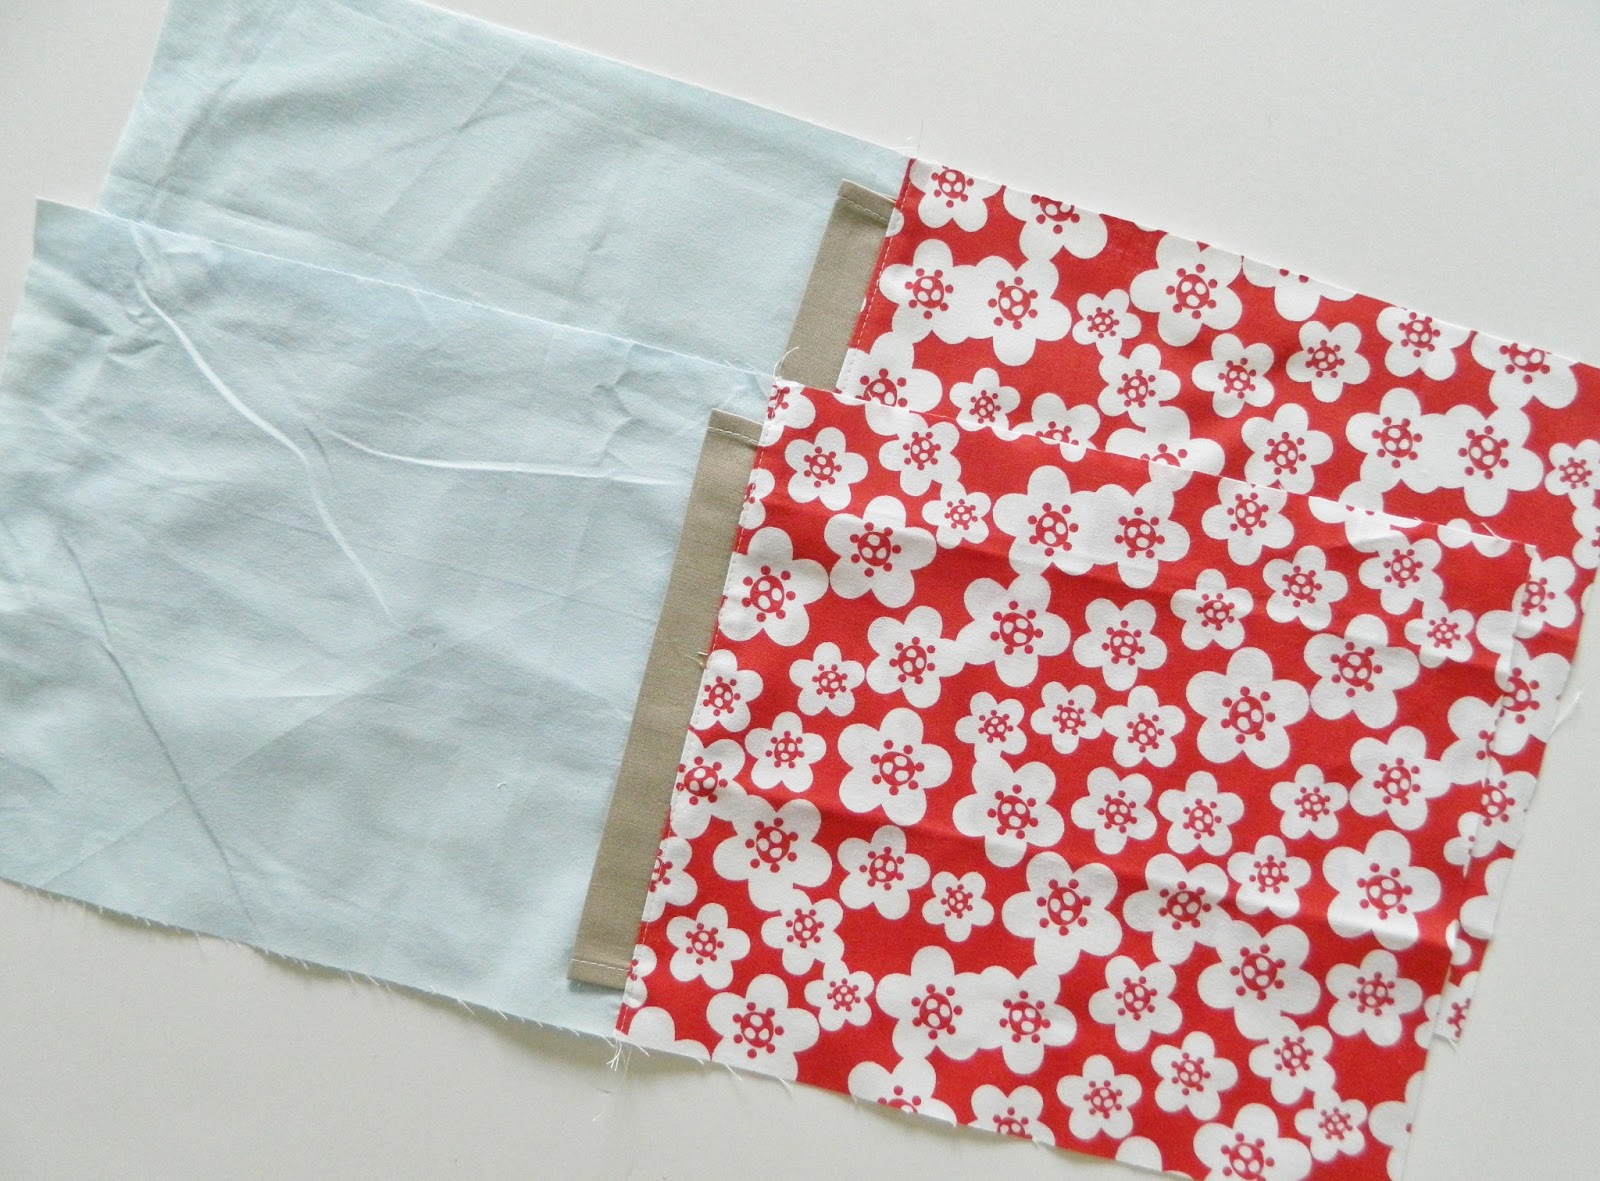
2" x 17" strip of solid fabric for the casing
50" 2mm leather cord or ribbon for ties
for the label:
leather scrap about 1.5" x 2.5"
1/2" wide cotton webbing 2.5" long
you will also need leather hole punch if you're making labels
from the main fabric cut two 8.5" x 10" rectangles
from the lining fabric cut two 8.5" x 10" rectangles
from the solid fabric cut two 2" x 8.5" strips for the casing
cut the leather cord in half to have two 25" cords

step 2: making the label

With your leather hole punch, first punch 3 equally spaced holes on each side of leather base about 1/4" from the edge (these are the holes for attaching label to the bag).
Also, punch out 2 more holes about 1/2" from each edge (these holes are to attach cotton webbing to the leather).
Fold the two short edges of the webbing under and press. Attach the webbing to the leather label using strong thread of you choice ( I used perle cotton).
At this point, you can use stamps, fabric markers, or pens to write on your label or leave it without any writing (as I did here) and stamp/ write on it later. Please set the label aside for now.
step 3: making the casings

Fold the short edge of the casing 1/4" in, press.

Fold over one more time and press again. Repeat with the other short edge.

Topstitch along both short sides, fold in half and press. Make second casing the same way and set both aside for now.
step 4: attaching label to the front exterior panel

Find the middle of one main exterior panel and center a leather label 2" from the bottom.

Stitch the label in place using perle cotton or some other strong thread.
step 5: attaching casing and lining to the exterior panels

Center one casing along the top edge of exterior panel, pin, and stitch in place using 1/8" seam allowance.

Place one lining panel on the flat surface, right side up. Place the exterior panel with the attached casing on top, right sides are touching. Pin along the top edge (where the casing is).

Stitch in place using 1/4" seam allowance and press as shown in the above picture.

Topstitch along the exterior panel using 1/8" allowance.
Repeat the whole step with the second exterior panel, casing and the lining.
step 6: finishing up the bag

Place the 2 panels from the previous step on top of each other, right sides together. (make sure your lining is on top of lining and exterior panel on top of exterior)
Line the panels up and pin all the way around.

Using 1/4" seam allowance, stitch all the way around the panels, leaving about 4" opening in the lining (that's where you turn your bag right side out).

Press the seams, clip the corners, and turn the bag right side out through the hole in the lining. Smooth out the corners and seams with your fingers and stitch the opening closed. Now push the lining inside the exterior panel. Looking good, isn't it? All you need to do now is thread the leather cord through the casing and you're done.
step 7: leather cord ties

Attach your leather cord or ribbon to the safety pin and pull it through both front and back casing. Tie the two ends together in a strong knot.

Thread the other leather cord the same way, only starting on the opposite side of the casing so the final knots will be one on each side.

To close the bag, pull both knots in the opposite direction.

Congratulations, you're all done. Now, wasn't that fun? Any questions or comments? please let me know. I'd love to hear from you. Svetlana