Happy Wednesday to you all!

Welcome back to week 3 of Finley Tote sew - along. I hope you had tons of fun working on the exterior of your totes last week.
This week we'll work on adding two kinds of pockets to our linings and add the main zipper closure. Ready? Let's start :)
+ + + + + + +
I am a huge fan of pockets and usually add at least one zipper pocket and one slip pocket to my bag lining. You can, however, mix things up a bit if you wish and add just one kind of a pocket or none at all. It's totally up to you and what your needs are.
Here are a few tips you might find helpful when adding your zipper pocket:
- it's very, very important to measure everything correctly as no one wants to end up with a crooked pocket. I find it very useful to line my panel and pocket lining up on a cutting mat and use the lines on the mat to help with ensuring everything is placed perfectly.
- precise cutting is also very important. To cut along the middle line of the pocket, I first make a few inch cut along the line using ruler and rotary cutter and then finish cutting using my very sharp fabric scissors. Make sure though NOT to cut into any of your stitches. You want to come as close to your stitches as possible without cutting into them.

- I like to do a few back and forth stitches along zipper tape on open end of zipper and add a bit of regular glue within seam allowance to help zipper stay in place as this makes for an easier assembly. You could, of course, use pins only to keep zipper in place but I find glue makes things just a tiny bit easier for me.

- And, once again, I have a quick video on IG showing how I add zipper to my pocket if you're interested. Just click here.
The wonderful thing about these pockets is that once you learn how to install them you can add them to pretty much any bag or pouch you wish :)
+ + + + + + +

Now go ahead and follow directions in Step 12 to add a pleated slip pocket to your second lining panel.
I must say, this is the first time I added pleats to my slip pockets and I absolutely love how handy and roomy they are.
+ + + + + + +
Time to work on adding main closure. If you decide to go with zipper closure like I did, just go ahead and follow directions in Steps 13 and 14 in your patterns.
You can, however, skip adding zipper and do a simple magnetic snap closure instead.
If you do decide to go with magnetic snaps, simply attach lining facing to main lining using 1/4'' SA, press seam towards facing and topstitch using 1/8'' SA.

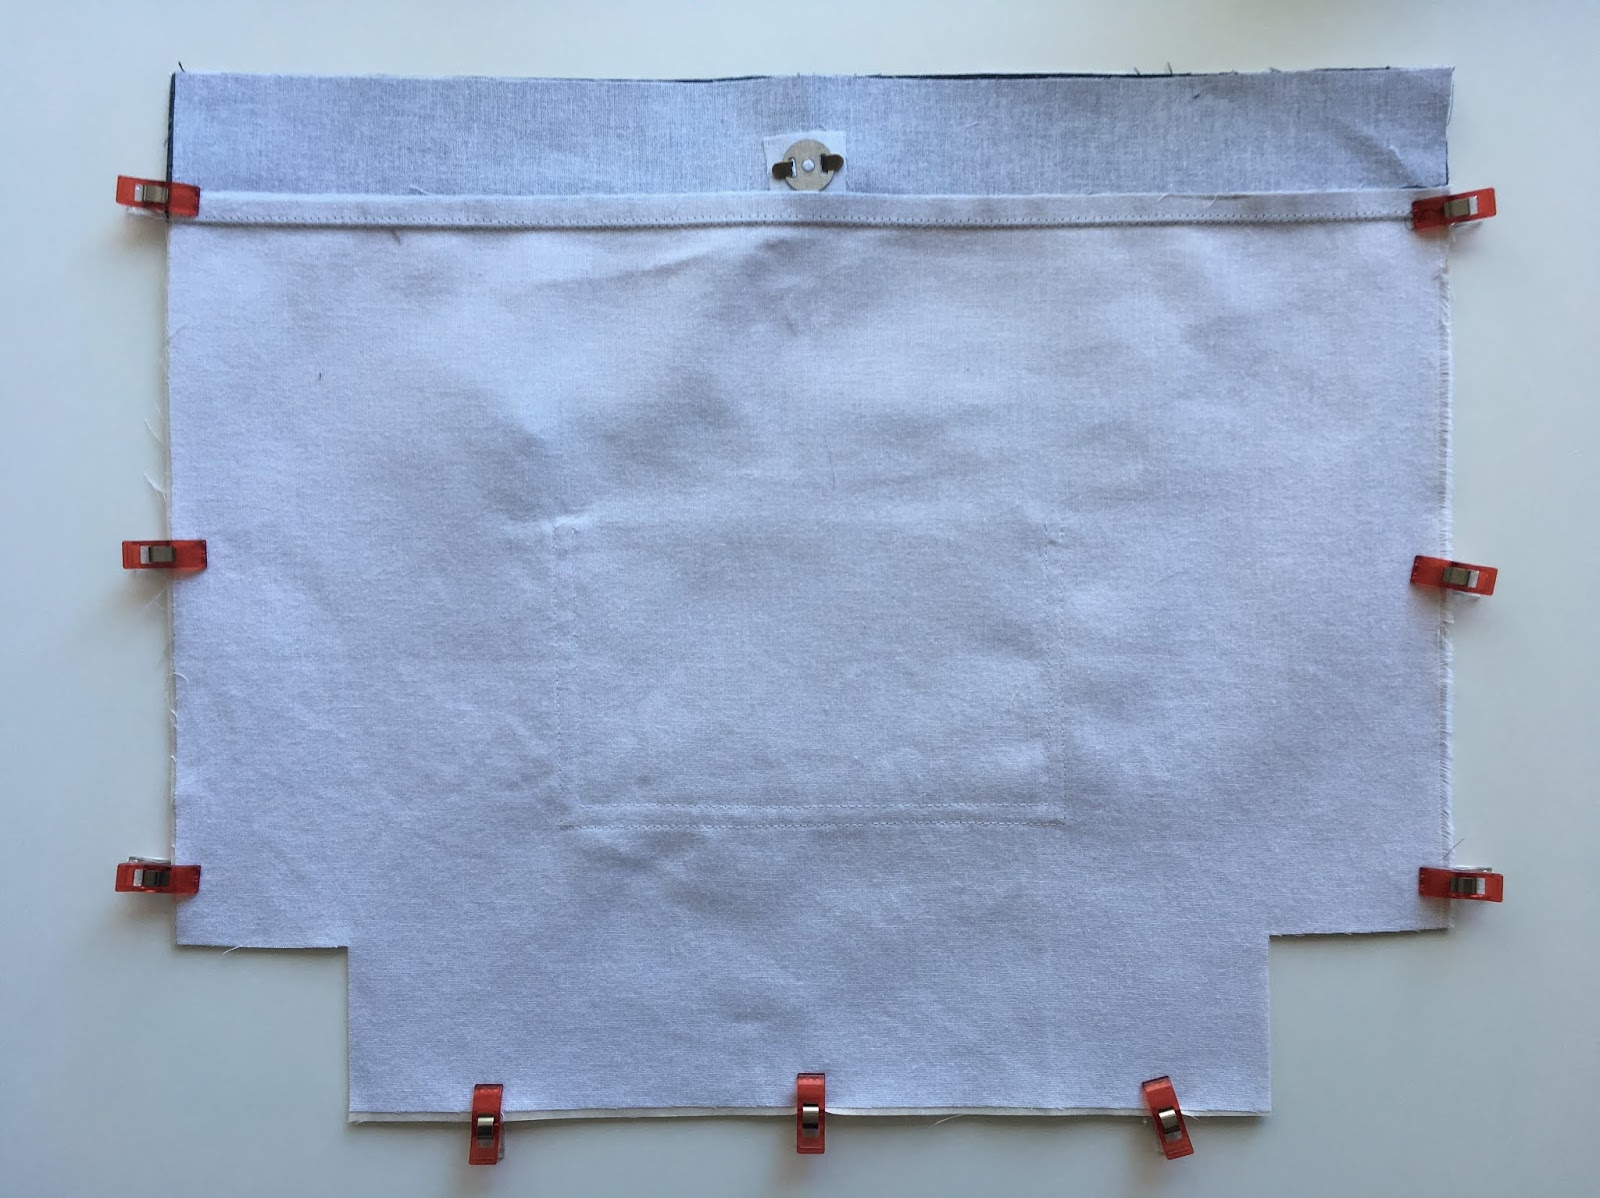
Fold lining in half, pinch gently to mark the middle of the panel as shown in photo above, and use magnetic snap's washer to mark the snap's placement 3/4'' above the seam. Cut through two marked lines and add magnetic snap closure to both facings.

All you need to do then is proceed with lining assembly the same way you would if you added a zipper (Step 15 in your pattern).
This is where we stop for this week. Not bad, right? We're quite close to having our totes finished :)
Any questions? Leave them in comments below.
Oh, and don't forget to share your progress photos with us all on IG using #finleytotesewalong.
Happy sewing all . Svetlana