
I've been working on some pincushions in the last few days. I only needed one for my swap partner but how could I stop at just one? Of course I made more. I thought I'd share the process with you and hopefully you'll have as much fun making these pincushions as I had when I made mine.
Here is a tutorial for 1" patchwork pincushion, log cabin one will be coming later.
1" Patchwork Pincushion Tutorial
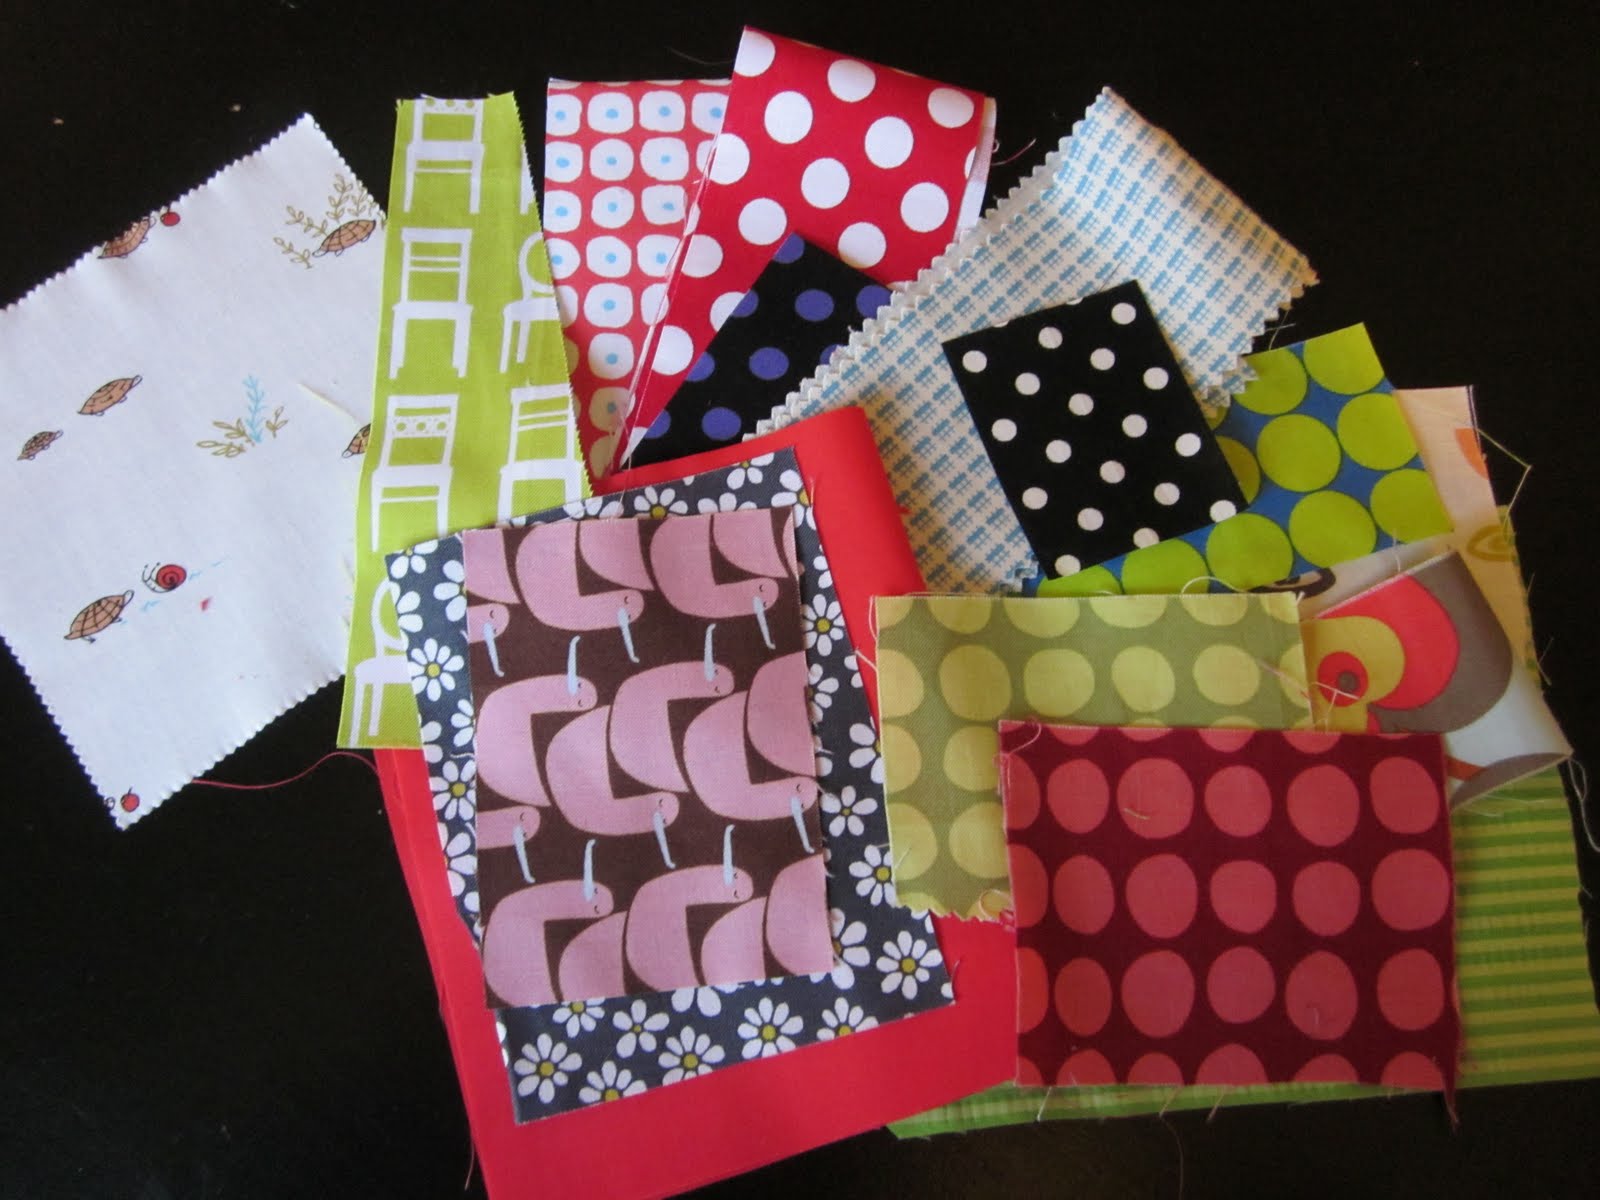
This is a wonderful project to use up some of your scraps. And we all have tons of them, don't we? Here is some fabric I picked out of my scrap bin (I had to iron mine as I keep them all bunched up together -not the best way for keeping scrap fabric).
Start off by cutting 16 squares measuring 1.5 x 1.5 inches. You can use any fabric combination, I went scrappy this time. Arrange your fabric squares in a pleasing manner.

Your big patchwork square should now measure roughly 6 x 6 inches. You are probably looking at all these tiny squares and trembling at the thought of piecing them all together. No worries. Let me show you a quick and easy way to piece tiny squares. I first came across this method here. Elizabeth from Oh, Fransson shared it on Sew Mama Sew blog.
Get your light weight interfacing ready and cut out one 6 x 6 inch square.
Get your light weight interfacing ready and cut out one 6 x 6 inch square.
Arrange your patchwork squares on the interfacing (sticky part up) and iron in place. Make sure not to move your iron across the patchwork, just put it down and lift it up. This way you insure that your patchwork does not go all wonky on you.

Once your patchwork is interfaced, you can start sewing the rows of squares together. Fold the first row down to touch the second one, right sides together. I like to mark a 1/4 inch line along the edge just to make sure my seams are exact all over the pincushion.
It's a good idea to use a small stitch (mine was set to 2, 1.5 would be good, too). Also, make sure to backstitch at the beginning and end of each row. You'll be glad you backstitched, it will make your sewing much easier later in the process.


This is what it looks like after I sewed all the rows. REMEMBER TO BACKSTITCH AT THE BEGINNING AND END OF EACH ROW. Use a ruler and rotary cutter to cut just a small part of the seam allowance so you can open the seams.


Doesn't it look just wonderful? You should have nice straight seams and perfect 1" squares.

Your patchwork should now measure 4.5 x 4.5 inches. This will make the front for your pincushion. Cut a 4.5 x 4.5 inches square for the backing .

Place front and back of the pincushion right sides together and stitch all around, use 1/4 inch seam allowance. Make sure to leave about 2 inch opening to be able to turn the pincushion right side out.


Fill with stuffing and handsew the opening shut. And Ta-Daaa!!! Your pincushion is all finished.
Finished size of your pincushion will be 4 x 4 inches.
You can, of course, adjust the size by making your patchwork smaller or larger. To make a smaller, rectangle size pincushion, I used only 12 patchwork squares.
